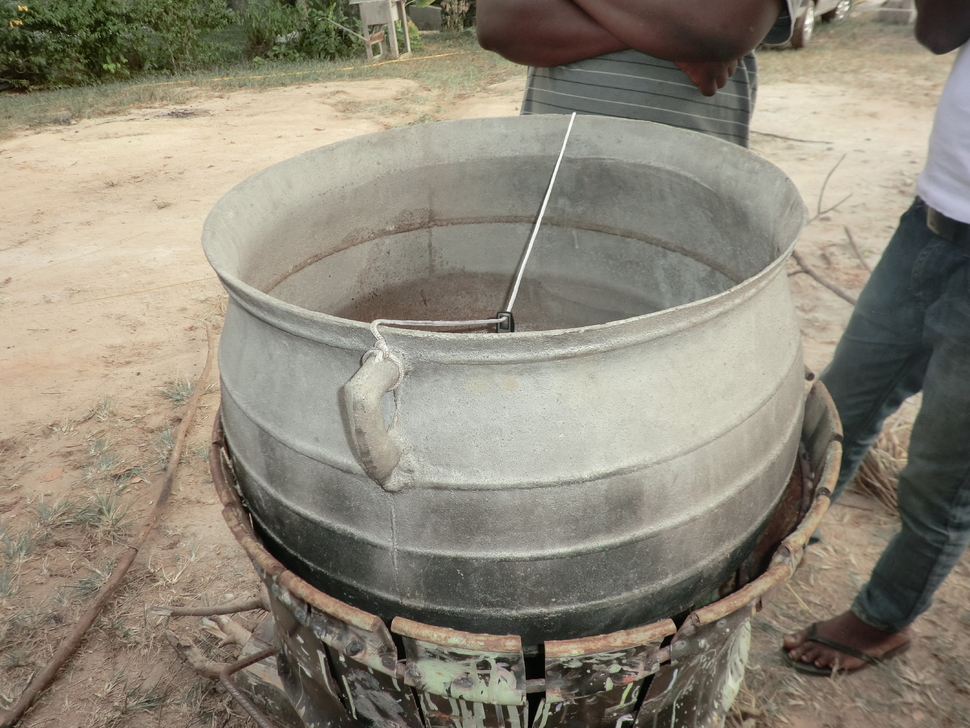
To test our cookstove, we made use of a document about the water boiling test (Bailis,
R., e.a., 2007). According to this document, the water boiling test consists of three
tests: the cold start high power test, the hot start high power test and the low power
test. These three tests should immediately follow each other. However, for our project,
we decided to only do the cold start high power test, because this was most relevant
and would provide enough information to compare our cookstoves with a three stone
fire and with last year’s cookstove.
For the cold start high power test, the following things are needed:
- Wood
- Scale
- 20 liters of water
- Thermometer
- Timer
- Pot
- Cookstove
Before you start the test, the following thing should be prepared:
- Write down the dimensions and weight of the pot
- Weigh the wood
- Measure the temperature of the water
- Measure the temperature of the air
- Write down the dimensions of the cookstove
- Determine the local boiling point of water
After the preparation is done, we can start with the water boiling test.
This test should be executed as follows:
1. Start the fire in the cookstove
2. Once the fire is well burning, put the pot with 20 liters of water on the cookstove
3. Start the timer
4. Write down the time and the temperature every two minutes
(to make sure the thermometer will not break down, you should not put the thermometer
in the water all the time. This means that you should put the thermometer
in the water after every 1.5 minutes, read it after every two minutes and
remove it the rest of the time)
When the water reaches the local boiling point:
6. Write down the time
7. Extinguish the fire with ash or sand
(do not use water for this, since this will increase the weight of the wood!)
8. Weigh the unburned wood
The results of this test will give a good overview of the time efficiency and fuel use of
the cookstove. You can easily compare different ways of cooking by using this test. The
next paragraph will show a summary of the results of the tests we executed.
